Where to Install a Heat Pump: The Best Spots for Maximum Efficiency
Discover the best locations for heat pump installation to boost efficiency and save on energy costs. Read the article for expert insights.
If you're planning to upgrade your heating system, one of the first and most important decisions you’ll face is where to install a heat pump. Whether you're going with air source heat pumps or exploring ground source heat pumps, the installation location can significantly impact comfort, energy efficiency, and system longevity.
This guide breaks down the best spots for both indoor and outdoor units, explains what to avoid, and helps you save money while boosting energy savings.
Why the Right Spot Matters
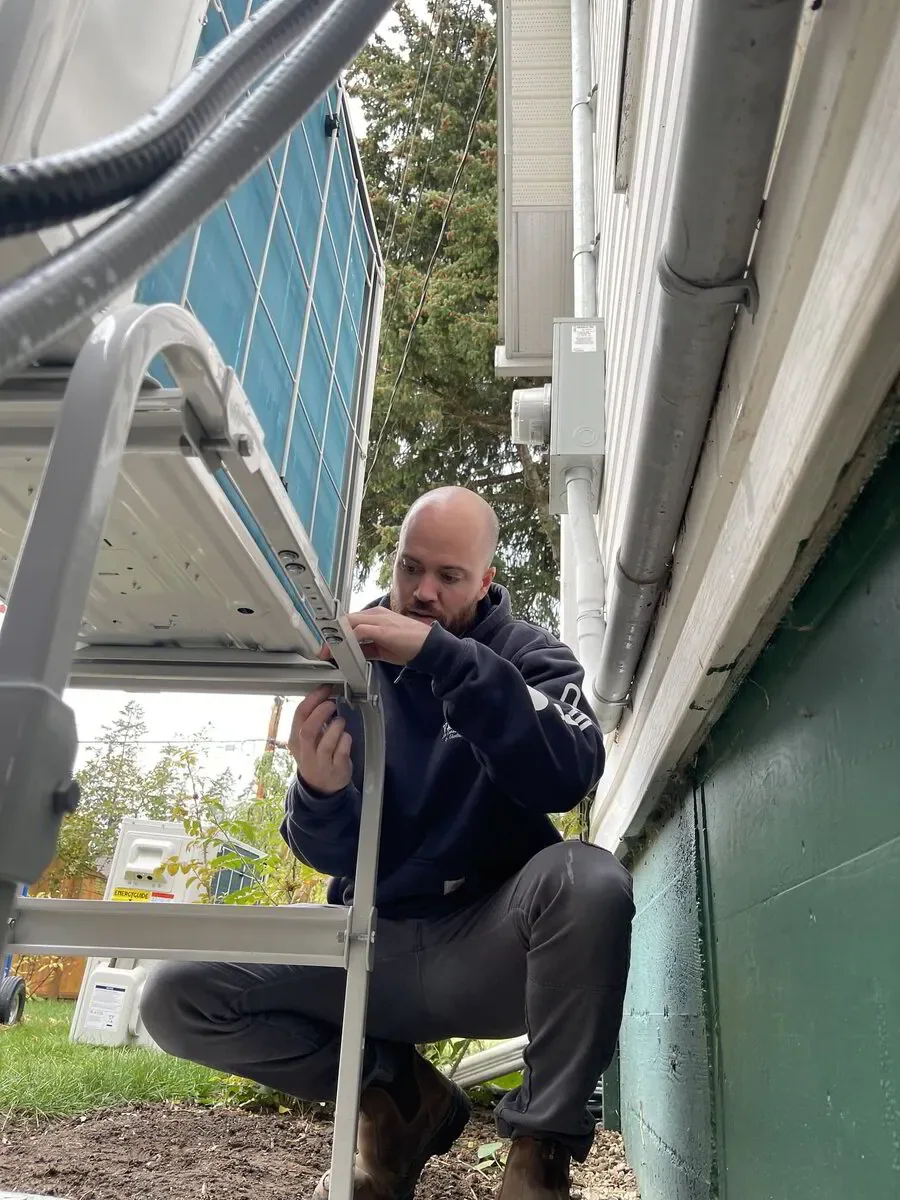
Heat pumps require proper airflow and placement to work as intended. The wrong location can limit efficiency, reduce lifespan, and lead to uneven heated air distribution.
That’s because heat pumps don’t generate heat; they extract heat from one area and transfer it to another. This process depends on unobstructed air flow and smart placement, especially for the outdoor unit.
Outdoor Unit Placement: What Works Best
Let’s start with the outdoor unit, the workhorse that absorbs or releases heat depending on the season. With air source heat pumps, this unit pulls thermal energy from the outdoor air, so positioning is key.
✅ Optimal Outdoor Unit Placement
- Elevated on a concrete pad or bracket: Keep it at least 4–6 inches above the ground to prevent snow or water damage.
- Installed in an open area: Ensure 24 inches of clearance on all sides for ideal air flow.
- Located on a south or east-facing wall: These spots reduce wind exposure and ice buildup in winter.
- Away from direct contact with snow or roof runoff: Consider installing a cover or gutter guard if needed.
- Mind neighbouring properties: Make sure noise and airflow won’t affect shared spaces or violate setback regulations.
💡 In areas with local conditions like high winds or heavy snow, talk to your installer about weatherproofing and placement.
✅ Indoor Heat Pump Unit Placement: Maximize Comfort
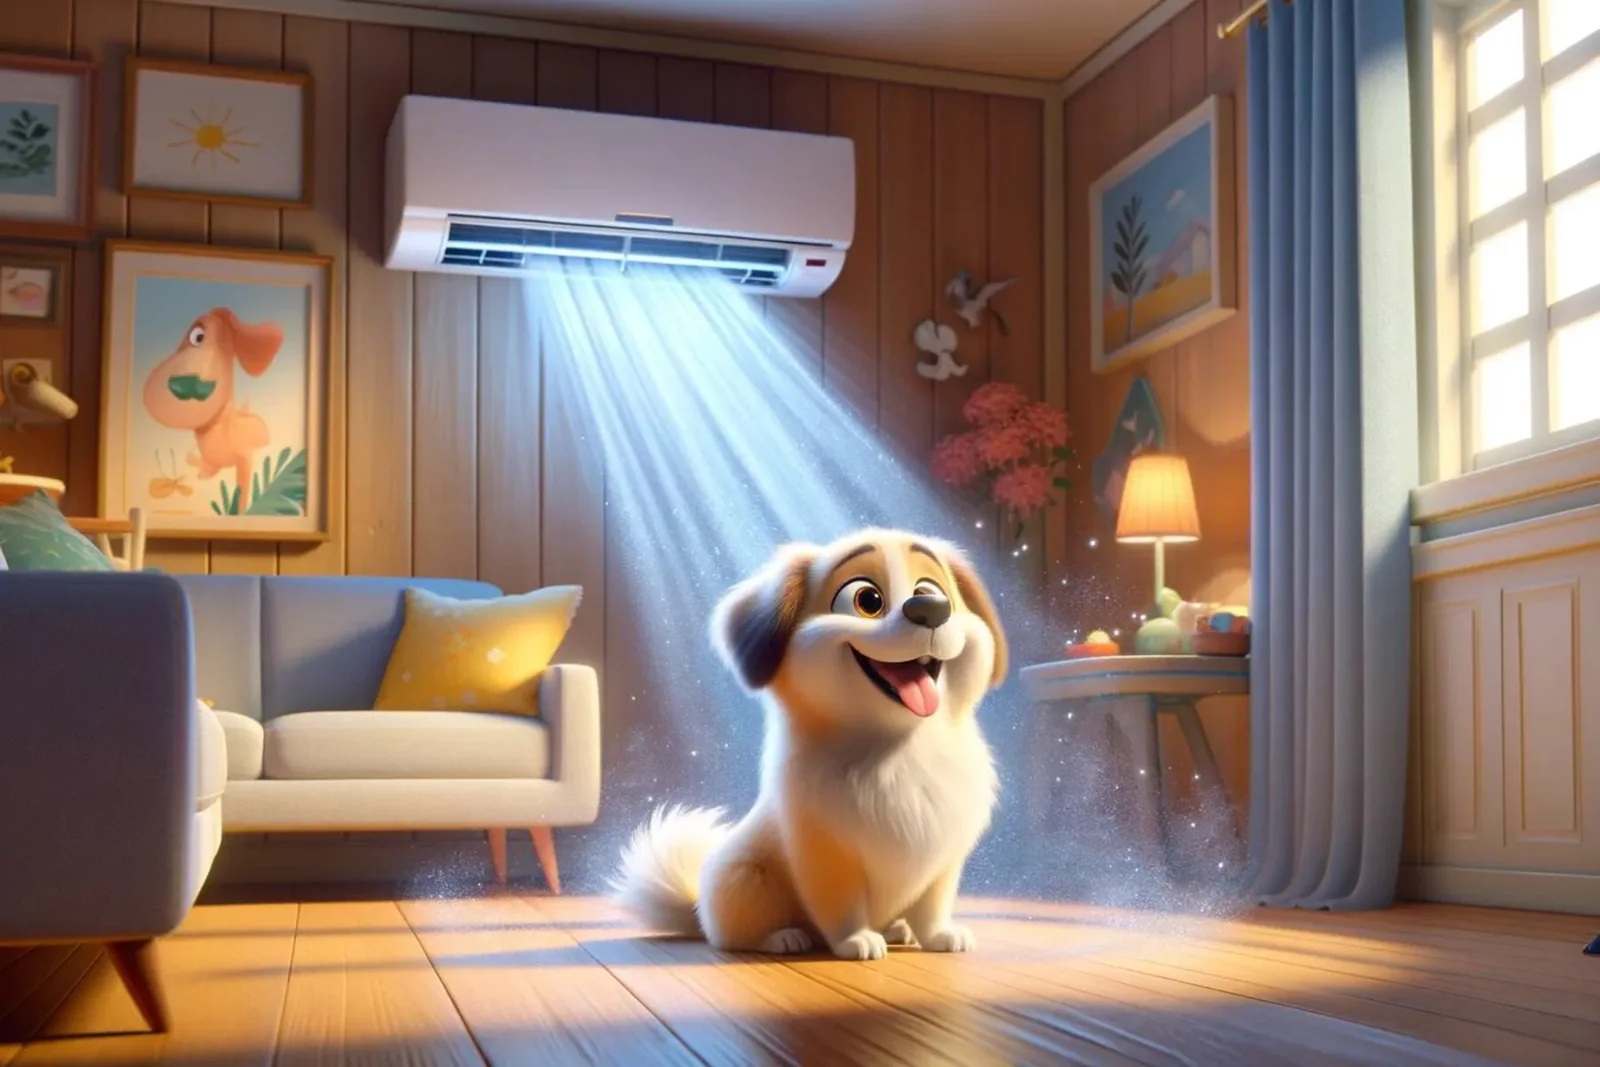
The indoor heat pump unit is responsible for circulating cool air and heated air throughout your home. Placement varies depending on whether you’re using a central air system or a ductless mini-split.
🌀 For Ductless Mini-Split Systems
These systems use one or more indoor heads mounted directly on walls or ceilings and are ideal for zone heating or cooling.
Best practices:
- Install high on a central wall in open areas like living rooms, hallways, or master bedrooms.
- Avoid heat sources like stoves, fireplaces, and direct sunlight, which can throw off the thermostat.
- Keep surrounding space clear, at least 6 inches above and around for proper air flow.
- Place in high-traffic rooms where comfort matters most.
This setup allows each indoor unit to provide efficient heating and cooling to a specific zone with minimal ductwork, making it great for additions, basements, or homes without existing ducts.
🔁 For Central Air Heat Pump Systems
These setups use a single indoor air handler, usually located in a utility room, basement, or attic, connected to ductwork that distributes air throughout the home.
Best practices:
- Install in a central location within the home’s duct layout to ensure balanced air distribution.
- Ensure adequate ventilation and clearance around the air handler for maintenance.
- Avoid tight, cramped spaces with poor air flow, especially if the handler generates condensation.
- Check for noise considerations if the unit is near bedrooms or quiet living spaces.
Central air systems are ideal for whole-home solutions where ducts already exist or are planned.
Special Considerations for Ground Source Heat Pumps
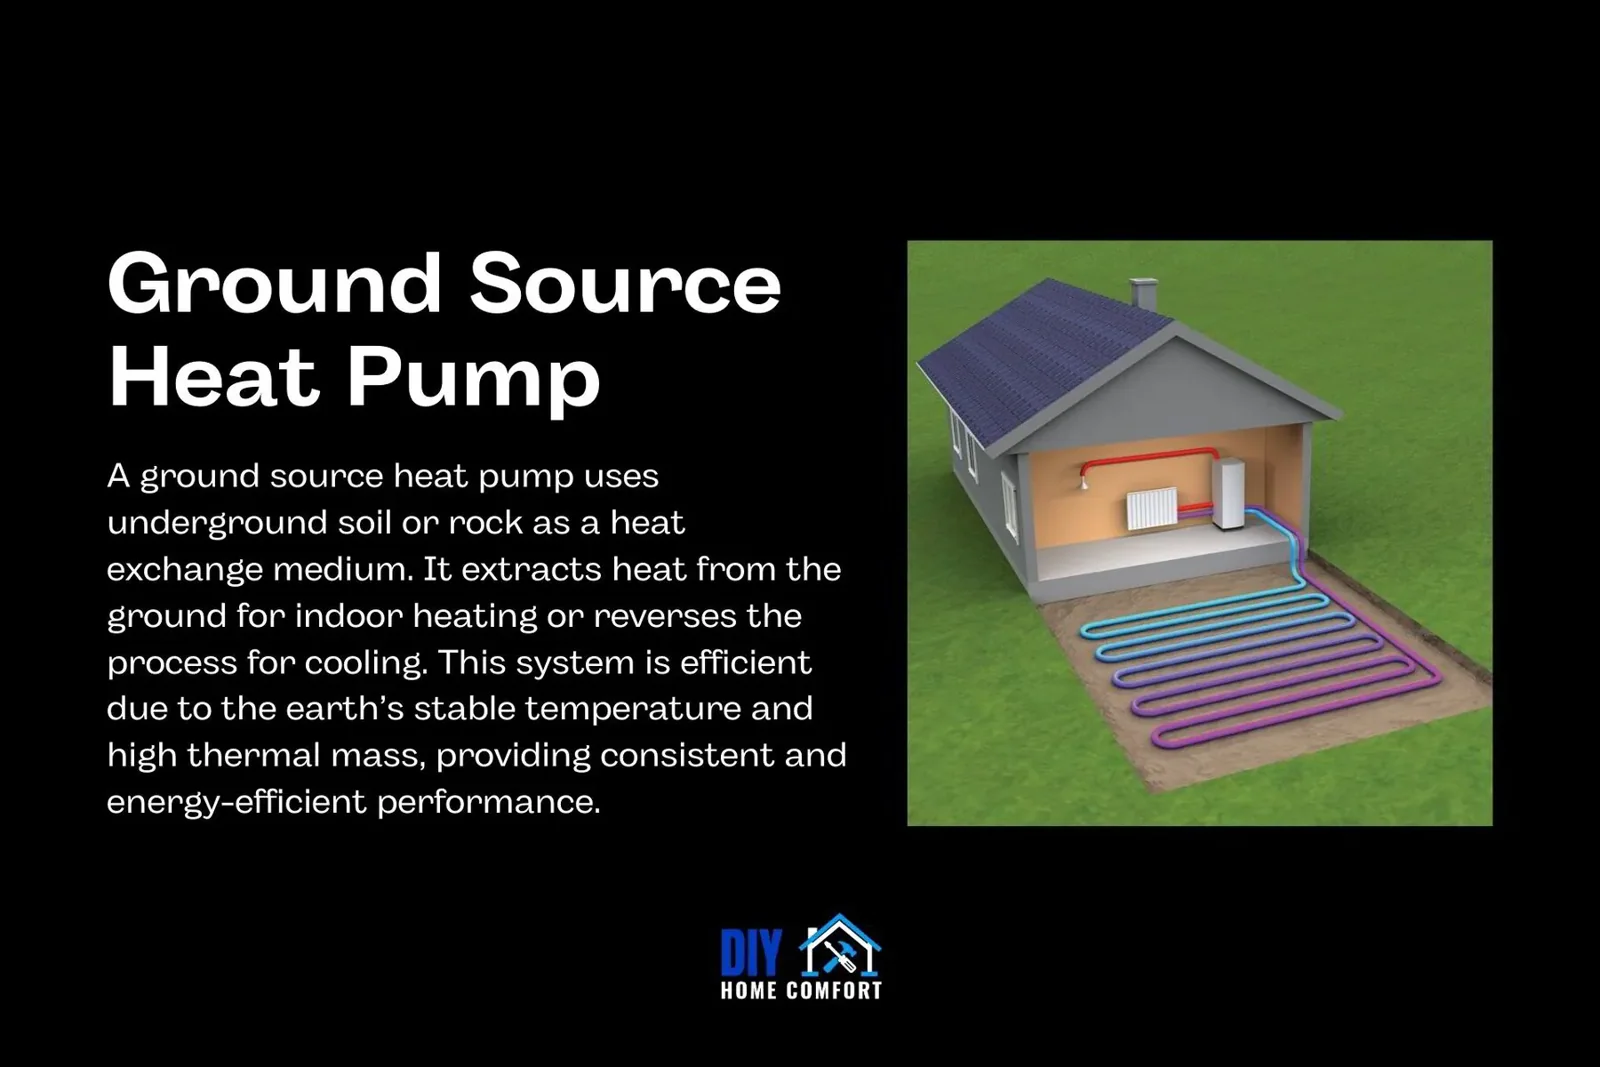
Unlike air source heat pumps, ground source heat pumps use buried piping to collect or release heat from the earth. While the indoor setup is similar, the installation location for the outdoor loop requires more space and planning.
- Horizontal loops need a large yard with room to dig trenches.
- Vertical loops work well for compact lots but require deep drilling.
If you're short on yard space, check with a certified installer to find the most practical setup for your site.
Real-World Scenario: Two-Story Home in Oregon
A homeowner in Beaverton chose to install heat pumps in a two-level house with indoor and outdoor units. The outdoor unit was placed on an east wall with shade and wind protection, and the indoor heat pump unit was installed in the living room to optimize air circulation.
The result? Better energy savings and fewer cold spots throughout the home.
Avoid These Heat Pump Placement Mistakes
❌ Installing under decks or overhangs where airflow is restricted
❌ Putting units too close to dryer vents or gas exhausts
❌ Skipping professional site assessments
❌ Blocking units with fences, bushes, or walls
❌ Ignoring local conditions like snowfall patterns or noise ordinances
Get the Most Out of Your Heat Pump
- Work with certified HVAC pros for code-compliant installations.
- Maintain clear access for service and inspections.
- Consider zones or multi-head systems for homes with varying layouts.
- Add a heat pump water heater if you're also looking to produce hot water efficiently.
For long-term comfort, consider how your system will run in both summer and winter. Many heat pumps are now designed to handle extreme cold—especially the latest air source heat pumps with cold climate ratings.
📘 For more expert insights, check out Energy.gov’s guide to heat pump systems.
Conclusion
The decision about where to locate a heat pump isn’t just a technical detail—it’s the foundation of an efficient, reliable heating system. Whether you’re working with ground source or air source heat pumps, proper placement of indoor and outdoor units ensures better comfort, lower utility bills, and longer equipment life.
👉 Keep reading our DIY Home Comfort guides for expert advice on choosing, installing, and maintaining heat pump systems. From troubleshooting to maximizing performance in every season, we’ve got everything you need to stay warm, save money, and make smart home upgrades.

Scott Harding
Scott is the main author of DIY Home Comfort. He's also an experienced HVAC technician that enjoys home renovation and spending time with his family. You can find out more about him here.